There is a lovely story behind this creation. I was given a box of scraps and bits and pieces by a lady I met a few years ago at a craft fair. They belonged to another lady who had recently passed away, at the bottom of the box (along with buttons and ribbon) I found a bag with pre-cut bunting triangles (some of which I used for the Christmas bunting) and some hand sewn rosettes. They were all in Christmas fabric and obviously intended for something festive, but were never completed. I have been wanting to use them for a while and have finally got around to it! I am so pleased with this cushion and hope that whoever she was, their original creator with be pleased with what I have made! I have given it to my sister to brighten her room as she likes her cushions (she has a stag one too which I made her which says "Oh Deer"). The rosettes are easy to make, simply cut a circle and sew a loose running stitch around the edge and once the threads meet don't tie off, simply pull together into a little rosette! Then arrange them however you like, into a cushion or as a broach or anything your heart desires! I am so pleased with this cushion! Hope you all had a wonderful Christmas and a Happy New Year too!
Quick Christmas bunting (some of this was sent to Russia for my housemates cousin to adorn her flat! The rest was used in our kitchen):
Saturday 3 January 2015
Wednesday 17 December 2014
QUILTED CHRISTMAS DECORATIONS!
Having learnt to create hand-quilted cathedral windows in the summer, I have been getting ready for Christmas by making a few cathedral window decorations! They are time consuming, but look lovely in my opinion and make perfect gifts. I simply sewed tow quilted squares together and stuffed them to give them a lovely, more rounded shape. A few are now hanging on our tree and the others have been given away! I have also been super-busy with the university Craft Society which I run and out Christmas Crafty Countdown! Check out the Facebook page here for some of our creative makes and ideas. Happy Crafting all!
Wednesday 26 November 2014
CERAMIC PAINTING
I run the university Craft Society and a few weeks ago we ran a very successful workshop with Jos from Hotplates Pottery (check out her Facebook page here and website here). I decided decorate mine with a little mushroom-fairy-house, complete with socks hanging on the line! So here are some pictures of what I created. It has been aaages since I painted and was really nice to get back into it for a change! I will, however, be spending most of the run up to Christmas sewing as I am planning a Crafty-Countdown-to-Christmas, so keep your eye peeled for more posts!
Monday 18 August 2014
ONE HAPPY CARP!
Yet another card! This time, however, for my partners birthday. Some of you (most of you) will be wondering why on earth I sewed a carp onto a birthday card. Well, when we went to the Oriental Museum in Durham, they had a "Happy Carp" exhibition on. This involved Japanese prints, as the word for "carp" and "love" in Japanese are (apparently) very similar and hence the carp had become a symbol of love. I thought this was fantastic and hence created a happy carp card that is both a happy-birthday-carp and also subtly soppy. It went down well! And I have used a shiny, sparkly paper for the background which I think sets off the sewing rather well and I might (depending on the theme) use it again in future.
OTTERLY ADORABLE!
Just a little cross-stitch I whipped up to send to a certain someone! I love otters (they are so cute the way the sleep on their backs and hold hands and their eyes and......) and I love otter-related puns, especially the bad ones! So here is a few pictures of the card. I didn't have quite the right shades of thread for the fur, but never mind! I think it still turned out all-right in the end!
Wednesday 6 August 2014
CATHEDRAL WINDOW NEEDLE-CASE
I have been beavering away at the squares for mine and mums cushion, however a few were a teensy bit wonky (as I am still a learner). I did not (of course) want to waste them having spent all that time making them! So I turned the two wonky ones into a cute little needle case. I am rather pleased with the result, although it did take a few days to decorate! Here is the result!
Monday 4 August 2014
CATHEDRAL WINDOW
Not as you might expect an actual cathedral window, but rather cathedral window quilting! Mum and I went on a workshop yesterday in order to learn how to quilt as neither of us had ever learnt and thought it was a skill we would enjoy and wanted to learn! Plus it was part of my birthday present. The workshop was at Victorian Arts and Crafts in Poulton (which apparently has been there for a year, but mum and I only discovered it recently!). Cathedral window is a form of patch work that involved hand sewing and a lot of folding of fabric, but once you have completed your square you don't need to wad or back it (which I rather liked, I find it a faff to those on the very rare occassions that I have tried). However, as it is hand sewing it does take quite a while. I only completed three squares on the day (as did mum) and we intend to create a few more in order to make a cushion! It can be used to make Christmas decorations, book marks, larger quilts, need-cases, napkin rings by varying the size of your starting square. I certainly want to practice and get the hang of it! I think it looks great and I thoroughly enjoyed our day yesterday. So without further ado, here are some pictures showing our progress!
Friday 1 August 2014
ALWAYS TIME FOR A GIN AND TONIC!
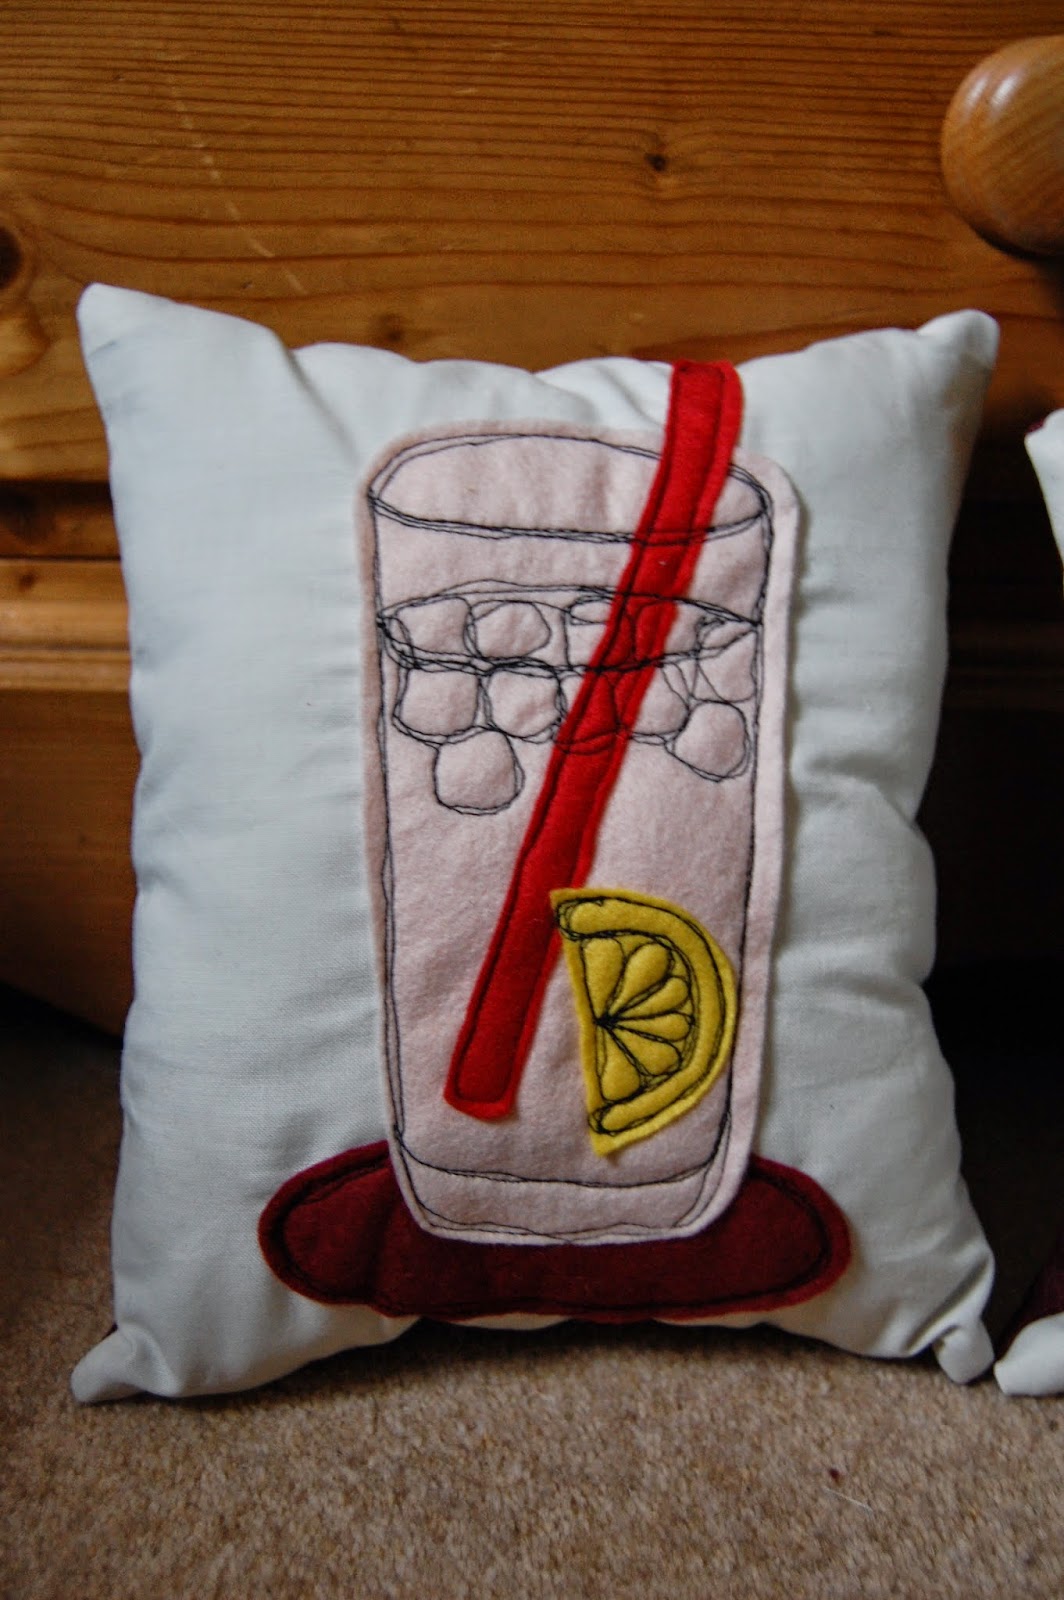
Once again, a while since my last post! I am utterly hopeless at the moment. However, I have not been wasting my time completely (as you shall see in the following few posts over the next few days!). In June it was my one-year (gulp) anniversary with my other half! So as a present (and being a penniless student I could not afford any gifts) I made him these cushions as he is a gin and tonic fan! And it is always nice to give homemade gifts rather than shop bought, they are so much more personal. Here therefore is the result then of a few days toil on the sewing machine!


Thursday 26 June 2014
STAINED GLASS WORKSHOP
Hello everyone! Long time no-see I know! Sadly my craftiness has been temporarily curtailed due to the demands of university work and running a student society (among other things of course!) However I have been keeping my crafting going so be prepared for a few more posts!
I spent this weekend just gone partaking in a two-day stained glass workshop at the York Stained Glass Centre. The workshop was run by Ann Sotheran, who is a incredibly talented and patient lady, check out her website here. This is partially work related (my proposed dissertation is on Scottish medieval stained glass fragments) and partially for my own enjoyment. On Saturday I learnt two types of glass-painting techniques, on very similar to the usual method of painting (literally painting out your design) and the second was to paint the glass completely with paint and then scratch out the design. On Sunday, I learnt how to cut glass and lead up my small pieces. I was amazed at not only how long each stage took, but also how physically tiring it was to cut the glass and lead! I have the up-most respect for anyone who works in this medium.
It was, however, a thoroughly enjoyable weekend and I am most certainly glad I attended. So here are a few pictures of the process and my various attempts, as well as my final leaded pieces! I hope to hang them by the window in my room so that the sunlight can flood through them!
First two small pieces I completed, one my own creation and the other, the one on the right, inspired by the Book of Kells.
A very messy work bench!
More traditional technique, I will be scratching into this paint to create the rose below!
We used a needle and the tips of paintbrushes to create the desired effect of my signature rose!
I then removed the excess brown paint and cleaned the image up.
Added a little silver stain to this piece.
A very cute little hare, the final piece of the day and one of my favourites!
Here is my work desk for the Sunday! No light box behind my glass today.
This is my border set out on my plan ready to be leaded.
The beginning of the leading-up process. Always start in a corner and nail the glass into place to keep it tight and in place.
More leads fitted!
TADA! Leaded and soldered and looking good!
Just this enough time to lead this little guy up, although not enough time to complete my full design sadly!
Leading him up and getting it sorted! A diamond shape is surprisingly hard actually!
Finished too! Had to add a little extra lead at the top as my glass cutting-skills were not quite up to scratch but still looking good. Had a fantastic time and would recommend anyone who is a bit crafty-minded to have a go at this! It is very rewarding. Feel free to comment and let me know your thoughts.
Subscribe to:
Posts (Atom)


